2014 Goodfellow Doll Hat

Here is a step by step tutorial on how to make this adorable reversible hat for your Goodfellow Doll project.
Using the hat pattern piece cut 4 each from two different fabrics.

Placing right sides together, sew a seam from the top of each hat section to the bottom of the brim.

I like to use the edge of my sewing machine foot for my seam allowance. When you have finished sewing this seam it should look like this.

Trim the top and side bottom; this will decrease bulk in the final product.

Carefully press the seam open.

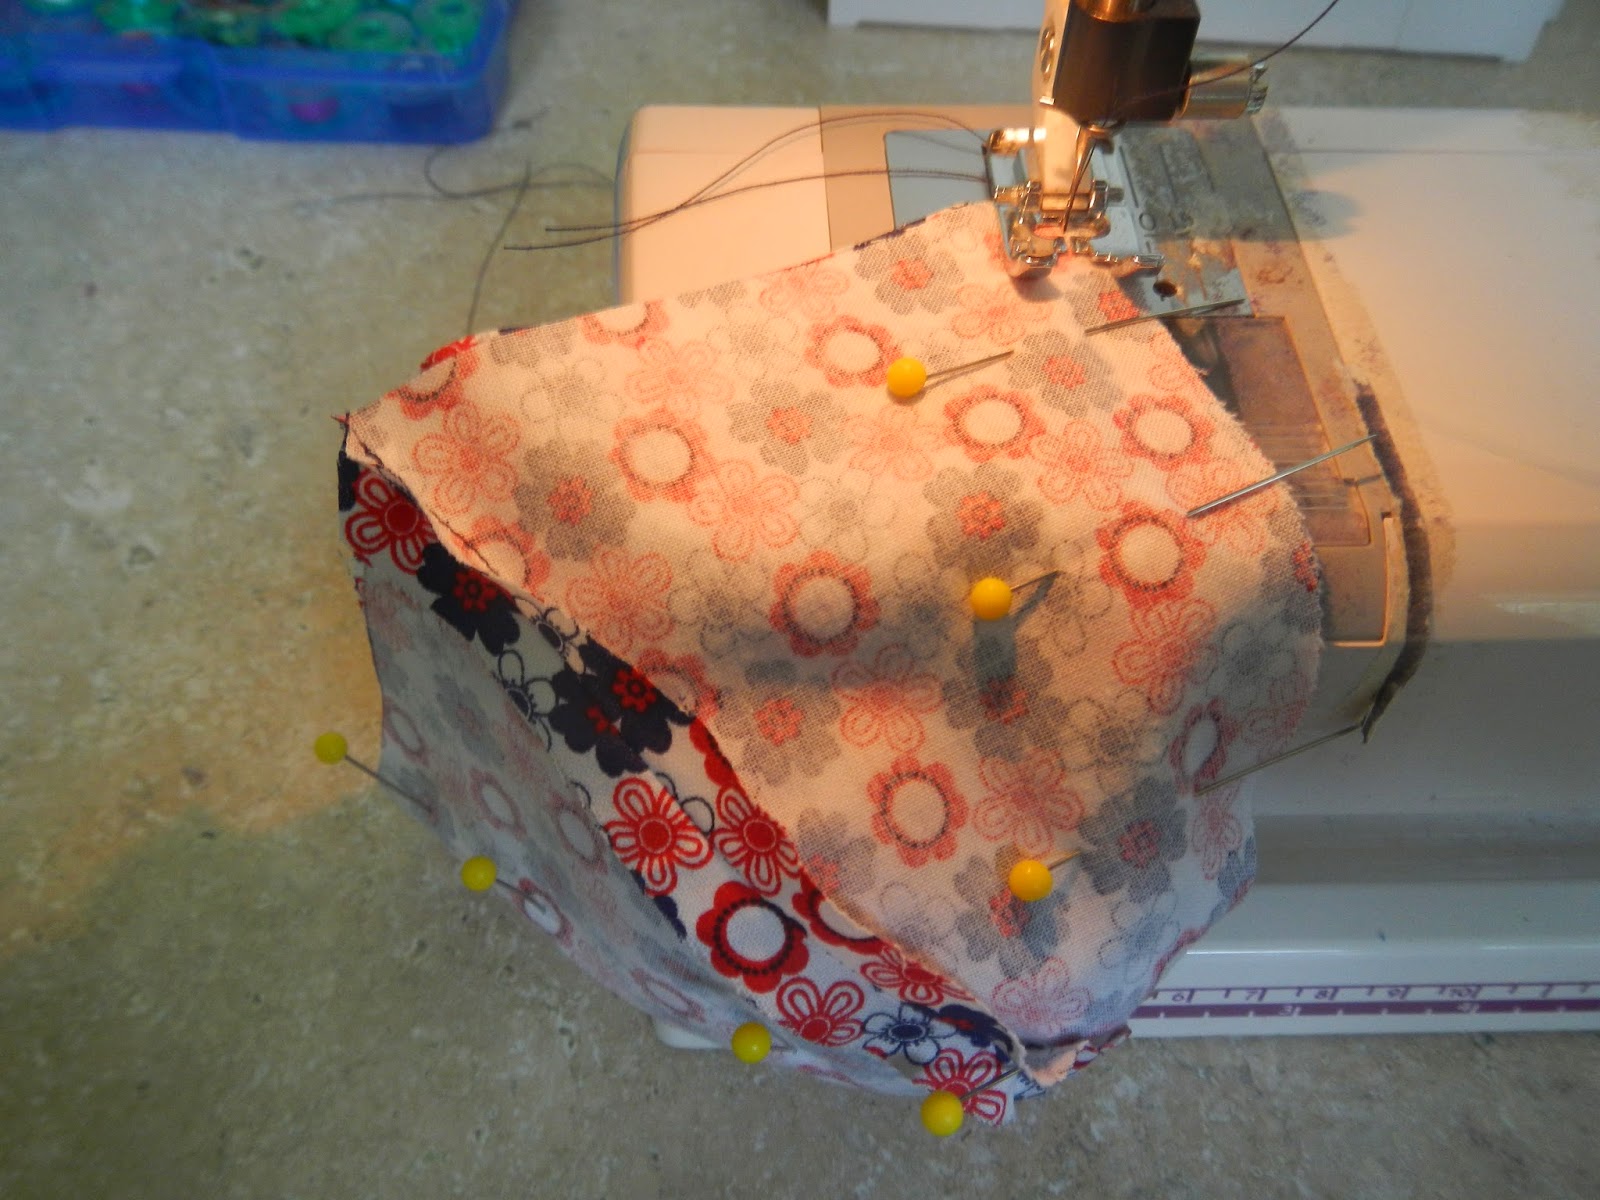
Now place right sides together, pin and sew.
You will now have two hat shaped pieces. Press the seam open and turn one of the hats inside out.

Insert the hat that is right side out, into the other hat so that right sides are together (match the seams).

Sew around the bottom leaving an opening to enable the hat to be turned right-side out.

Turn the hat right-side out, through the opening that you left.

Use a knitting needle or some other pointy object to help coax out the corners.

Finally top stitch the bottom of the hat to close the opening and finish the hat.
Ta Da!
Thanks for viewing.
Carol
No comments:
Post a Comment